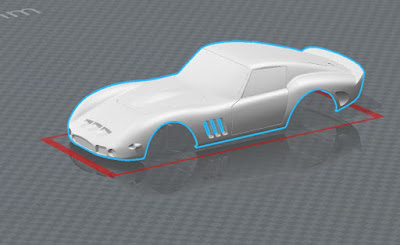

We began with the 3D model provided, and sliced it up using fusion 3D.

After slicing our model up in fusion 360, and cleaning up some rough edges in AutoCAD, it was laser cut, and the sheets came out looking like this. We made the slots slightly wider, 3.5 mm instead of 3mm, which made it easier to slot together, the next step.

It slotted together very easily as planned. We had 7 ribs across, and 15 along.


We covered the model in masking tape, which more clearly revealed the elegant contours of the cars body.

Next, we took templates of out respective pieces, with mine being the windscreen and rooftop/back window.

Traced out the template onto a sheet of aluminium.


With some simple bends, the windscreen was not too much of a challenge. Just some accurate cutting with tin snips and then filing back the sharp edges.

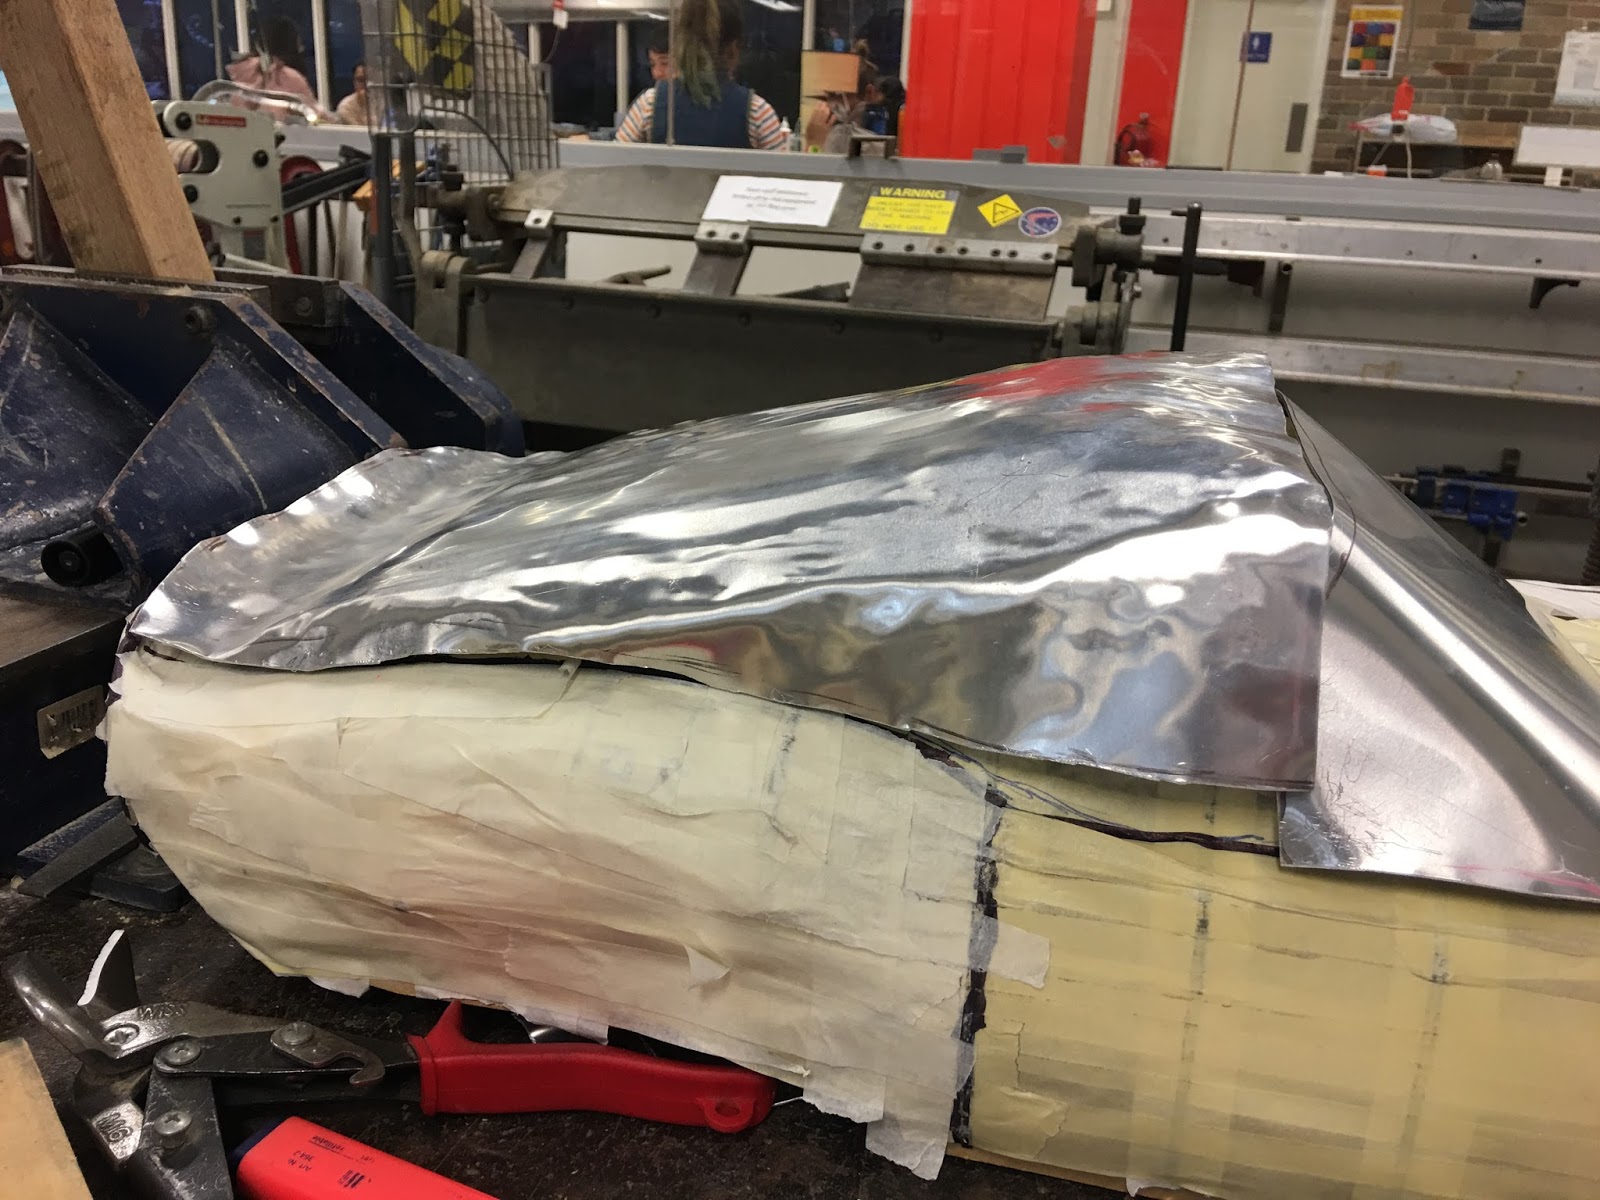

First step was to bend to the metal over the wooden frame to get the general shape. Then i started working with a mallet and sandbag to soften the metal and begin to work the shape. It still looked quite rough at this point. I also began to use the English wheel but was not particularly confident with the tool so left it for now.


Spent a few hours working the shell with the flat steel hammer over the mushroom to smooth out all the dents made earlier on the sandbag.
Then back onto the English wheel second go round and the long curve down the back of the car came out much nicer with a bit of time spend practising on the wheel.

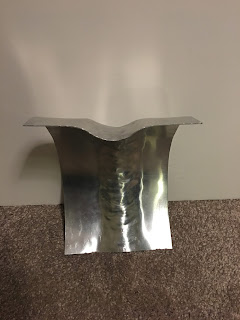
The finished product! Buffed out with a scourer. very happy with the fit lengthways, However the curves down to the windows could have been better, given more time.


Comments
Post a Comment